
Gabbyphone

How to enable our Services Quickly
Hey there, amazing Gabbyville tenant! Hooray! You’ve found our extra awesome Gabbyphone Virtual PBX Services.We made this especially for you — to help you with any Softphone Configuration questions you may have.
Need our help? Please email us at support@gabbyville.com and we’d be glad to provide our expert assistance to you!
Zoiper 5 Download & Installation
- 1. Download – You can download Zoiper 5 from here and select FREE
- 2. After the download prompt appears, save the file and wait for it to be downloaded successfully
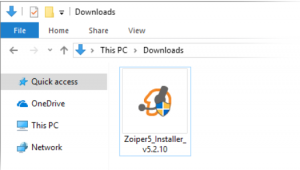
- 3. Next, go to your Downloads folder and find the Zoiper 5 installer, double click to execute it

- 4. A verification prompt window will appear, click “Yes” in order to run the installer application. If an administrator password pop-up comes up, enter your admin password to authorize Windows to run the installer.
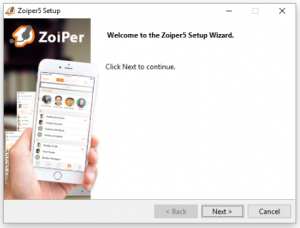
- 5. The Zoiper 5 installer will start, click “Next” on the first screen of the Setup wizard
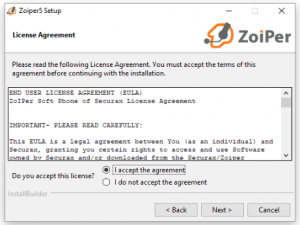
- 6. Read the license agreement and click “Next” after marking“I accept the agreement”.
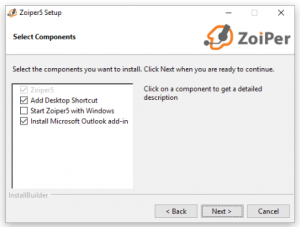
- 7. Select which components to be included.
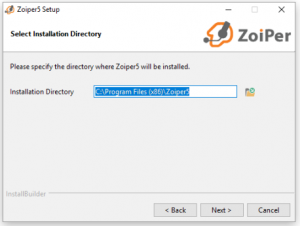
- 8. Select an installation folder for Zoiper 5 (it is best to keep the default one).
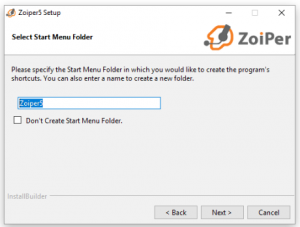
- 9. Choose a Start Menu folder.
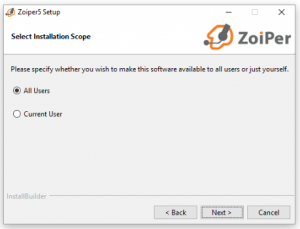
- 10. Select which users should be able to use the new Zoiper 5 application.
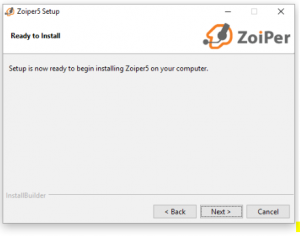
- 11. The Setup is now ready to begin the installation. Click “Next” to continue and install Zoiper 5 on your computer.
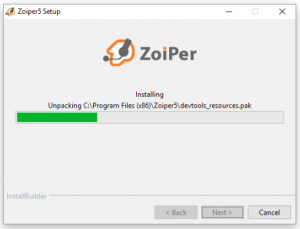
- 12. Be patient while the Zoiper 5 installation finishes.
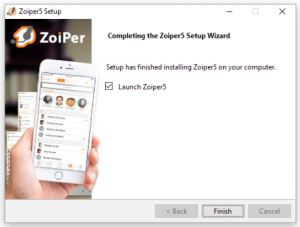
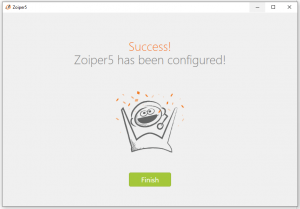
- 13. Once you see this screen, the installation is complete. Click “Finish” to launch Zoiper 5 and exit the Installer.
Zoiper 5 Setup Guide
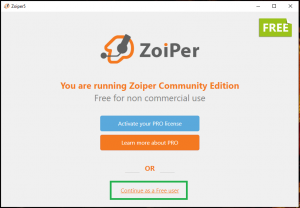
- On first start of Zoiper 5, you’ll be greeted with a screen and a few options: (select “Continue as Free user”)
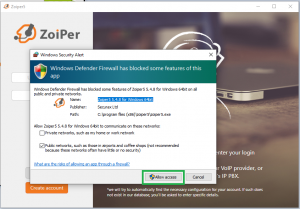
- A windows security alert will prompt select “Allow access”
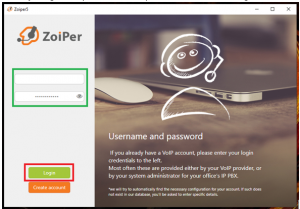
- Enter your given sip username & password and select login button
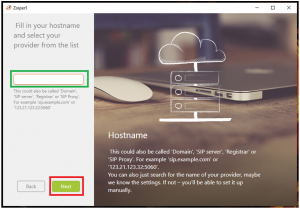
- Enter given hostname or domain in the box
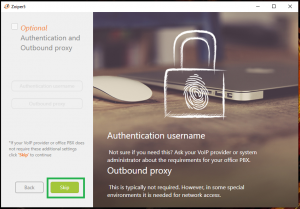
- This is optional select “skip”
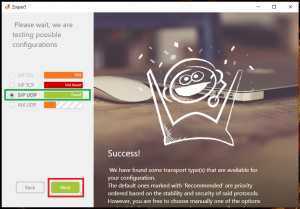
- Wait until “SIP UDP is found and marked as green and select Next
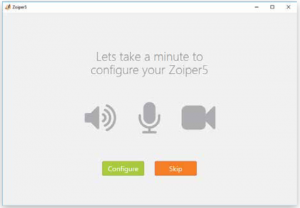
- Zoiper comes with a built-in Audio wizard for easy configuration of your microphone and speaker. This wizard is displayed once you have started Zoiper for the first time. If you would like to test or change your audio/video settings later, you can do this from the Settings menu. The wizard is pretty straightforward, just follow the steps one by one. Zoiper will configure your Speakers first
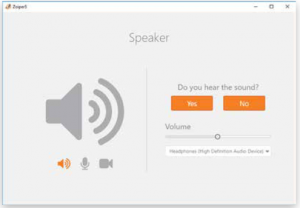
- Click on the “Start test” – button
- If your speakers are configured and connected properly, you should hear a ringing sound. If you do, please click on the “Ye s” button and move on to the Microphone step.If no ringing sound was heard, please make sure your speakers are connected properly and powered on and if needed, change the selected audio device from the drop-down menu to a different one and try again by clicking on the “No” button.
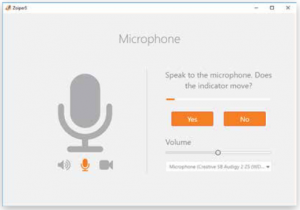
- Click on the “Start test” button to start the Microphone check
- If the selected microphone is connected properly, you should see the volume meter move when speaking into the microphone. If the volume meter is not moving, please check you’re cabling and make sure the proper audio device is selected in the Device drop-down menu. Once the microphone and speaker are configured properly, click on the “Yes” button to move on to the camera configuration screen.
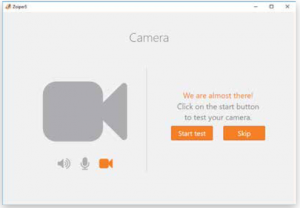
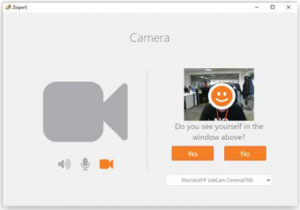
- Zoiper 5 user guide 18 of 51The camera test screen will appear. Click “Start test“ to continue with the wizard. (this can be skipped)
- Please select from the drop-down menu the proper camera device to use. To confirm that your video capture device is working, click on “Yes”. If no video appears, please make sure that your camera and camera drivers are properly installed and configured in MS Windows. Clicking the “Ye s” button will confirm and close the Audio/Video Wizard.
- Success and select “Finish”
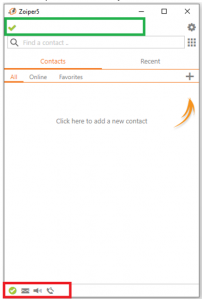
- Your softphone is already connected and ready to be used.


Are you ready to build a better business?